Table of Contents
Readers' Tips4
Updates
-
Page 7: Spring Featherboard Tip, Main illustration
Several corrections to note: (1) The base does not have a dado cut in the bottom as shown in the main figure. (2) The wing knobs need to be 1/4"-20 to work with the machine screws listed. (3) The length of the featherboard should change from 6" to 4-3/4".
Routing Shelf Pin Holes8
Use your plunge router as a precision drilling machine for evenly spaced shelf pin holes.
Updates
-
Page 9: Text
The last sentence in the second to last paragraph reads "Simply set the index pin in the last hole you drilled..." BUT it should read: "Simply set the index pin in the second to last hole you drilled..."
A Look at Coping Sleds10
Get the scoop on what features to look for and how you can get better results.
Updates
-
Page 11: MLCS Coping Sled
The MLCS sled shown at the top of page nine is actually called the Professional Coping Safety Sled, and at press time the cost was $65. The part number on the sources page is correct.
Using Gel Varnish12
You'll get a fast, flawless finish with this durable, easy-to-apply varnish.
Heirloom Back Saw14
Making your own hand saw is easier than you think. With a few simple techniques, you'll create a high-quality, heirloom tool.
Sources
The back saw was made from readily available parts from the online suppliers listed below. Wenzloff& Sons is offering saw parts separately or as a kit.
Saw Blade Filing Jig18
Updates
-
Page 19: Figure 2b
The 2-3/4" measurement should be 2" for the dimension lines shown.
-
Page 20: Figure 3
Change "Front End" at the upper left of the drawing to "Back End." The "Front End" at the upper right is correct as is detail 'a.' Front End in this case is what the person using the file block sees.
Shop Short Cuts22
Check out our shop-tested tips and techniques for solving your woodworking problems.
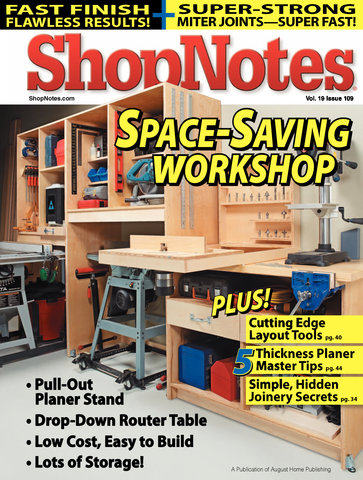
Space-Saving Workshop24
Simple joinery and inexpensive plywood is all it takes to turn any wall into an efficient work and storage area for all your tools.
Updates
-
Page 29: Figure 5
Figure 5 calls for #8 x 1" Fh woodscrews to attach the drawer slides. This is incorrect. The drawer slides include the necessary screws. Instead, this callout should be for the screws used to attach the drawer sides (parts 'Y') to the drawer front and back (parts 'X'). These screws are shown in Figure 5a, but were omitted in the main figure.
-
Page 33: Materials & Hardware
There are several corrections & additions to the materials list: (1) An additional Utility Pull is required for a total quantity of 3. (2) Only 4 Heavy-Duty Lifting Levelers are required. (3) 20 1/4" Shelf Pins are required (4) 8 #8 x 1-1/4" Fh woodscrews are required. The latter two items were omitted from the list as printed.
Drop-Down Router Table30
A unique design allows this router table to be used over any workbench and easily stored.
Updates
-
Page 33: Materials & Hardware
There are several corrections & additions to the materials list: (1) An additional Utility Pull is required for a total quantity of 3. (2) Only 4 Heavy-Duty Lifting Levelers are required. (3) 20 1/4" Shelf Pins are required (4) 8 #8 x 1-1/4" Fh woodscrews are required. The latter two items were omitted from the list as printed.
-
Page 32: Figure labels on three illustrations
The figure numbering is incorrect. The three figures should be labeled Figure 7, Figure 8, and Figure 9. (The numbering continues from the previous article in the issue.) This affects the figure references in the text as well.
Plugging Screw Holes34
Disguise countersunk screws with couple of common bits and a simple technique.
Super-Charge a Shop Vacuum36
Increase the usefulness of your shop vacuum with a handy upgrade and roll-around cart.
Updates
-
Page 39: Figure 3
The radius at the ends of the handle opening in the cover should be 3/4" not 1" as shown.
Choosing Shop Knives40
Find out what you need to know to select the best knife for your shop.
Folding Lumber Racks42
Keeping your project lumber organized is a cinch with these simple lumber racks. You can build a pair from just one sheet of plywood.
5 Tips to Get More from Your Planer44
Turn your planer into a multi-purpose tool with these simple tips, jigs, and fixtures.
Decorative Splined Miters46
Get extraordinary, eye-catching results all while strengthening a mitered joint.
Dust Collection Accessories48
Learn how a few simple accessories can help keep your shop clean and dust-free.
Q & A50
Scenes from the Shop52