

I used to think that a woodworker needs to figure out their "ultimate" workbench, build it and use it for life. Now I'm not so sure. My first bench checked all the boxes of what a workbench is supposed to have and be able to do.
After a few years in my garage workshop, that bench revealed some shortcomings. My own mostly. The large open space below the benchtop ideally keeps the shop open looking and maximizes clamping options. In reality, it just turned into an eyesore of jumbled tools and accessories. And don't get me started on the dust and shavings.
The open base of the bench also allowed dust, shavings, and dropped tools to collect underneath the bench. It was a nightmare to clean, or find the screw I dropped. (Pro tip: it ALWAYS rolls under the bench. Always.)
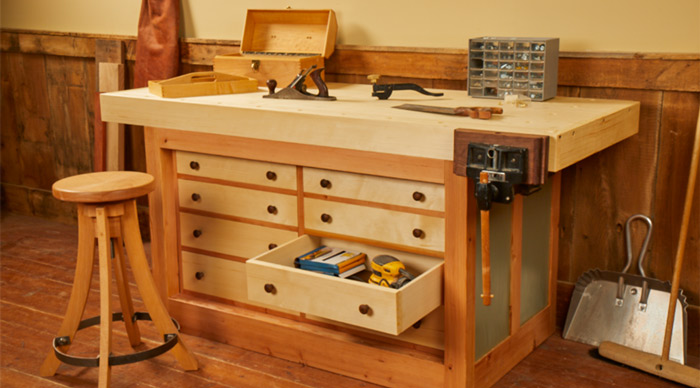
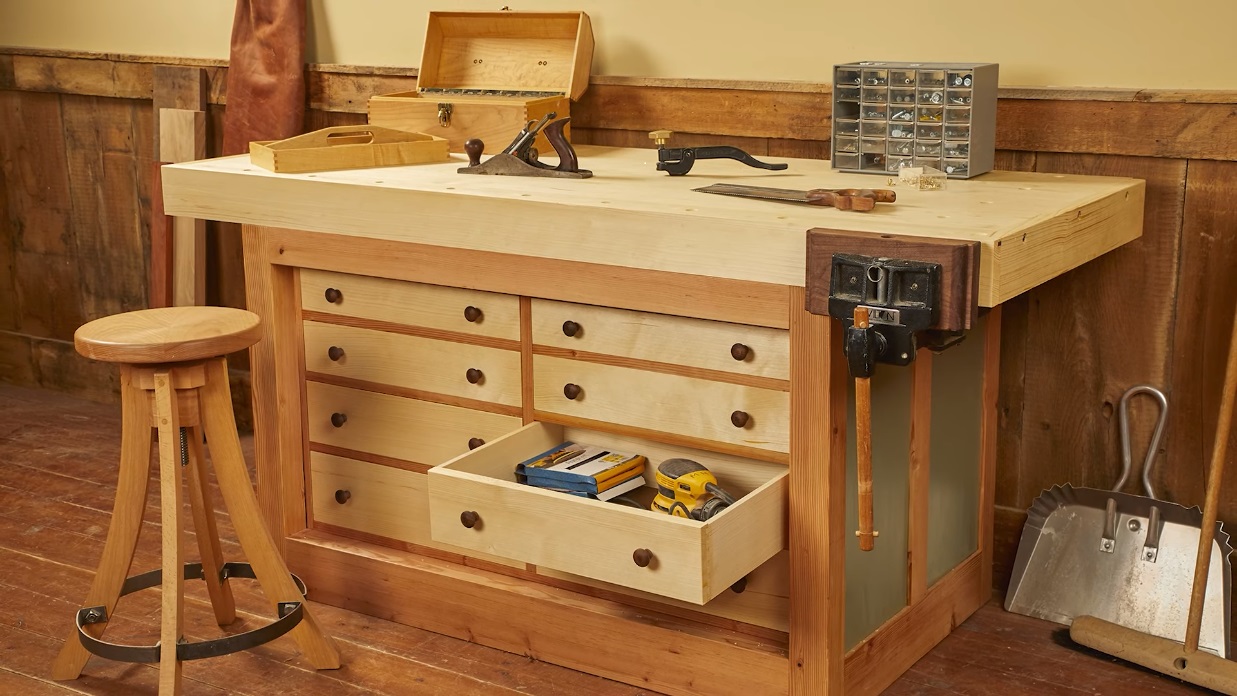
This new bench is modeled after a workbench that Creative Director Chris Fitch uses in the shop at Woodsmith. As shown, the bench would be way too large for my space. But a simple modification to the plan made it work.
This bench uses Douglas fir for the base with plywood panels. The top is constructed of white fir. This bright, easy-to-work material has held up great these last couple years. Sure it gets some dings and dents, but it's flat, stable, and great looking.